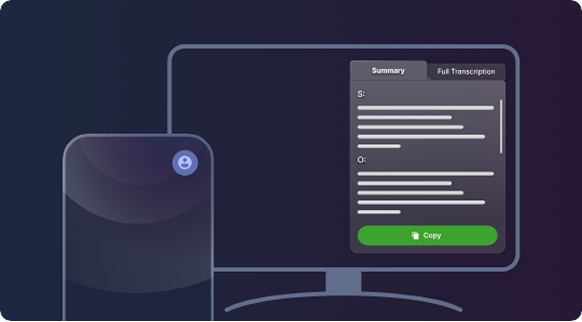
Use Tali your way
No download required. Tali’s web app works right in your browser. Just click the button, log in, and start recording instantly. Use it to transcribe notes and generate summaries from any device, anytime.
Open Web App


Tali AI is available as an extension for Google Chrome, and as a desktop application for Windows 7-11 and Mac Intel and M1.
Open this page on
your desktop to Install Tali.
Download Tali on your mobile device. For an enhanced recording experience, you can use your mobile device to transcribe notes and generate summaries. To use the mobile app, you must create an account online first.


Download Tali on your mobile device to record, transcribe, and summarize notes. Create your account online first to get started.
Download once, use anywhere. Tali's extension sits right on top of your browser based EMR for a completely seamless workflow. Just add it to Chrome, log in, and click the Tali widget to start recording instantly.
Download Tali Extension for ChromeDownload once, use anywhere. Tali's extension sits right on top of your browser based EMR for a completely seamless workflow. Just add it to Chrome, log in, and click the Tali widget to start recording instantly.
Download Tali Extension for Chrome




.svg%201.svg)

1
Step 1
No installation needed. Simply click the Open Web App button below. Tali will open directly in your browser, with no downloads or extensions required.
Open Web App2
Step 2
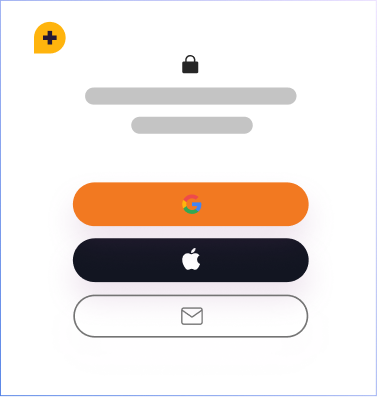
Once the web app opens, you’ll be prompted to log in or create an account. You can sign up using your email, Google, or Apple account. Already have a Tali account?Just log in and you’re good to go.
3
Step 3
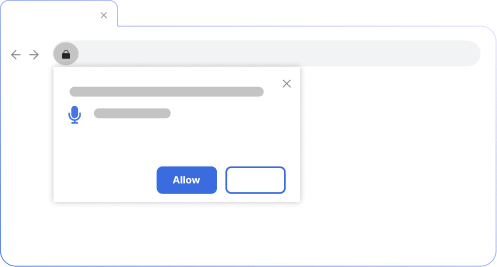
Tali is a voice-enabled medical scribe, so it needs access to your microphone to record and transcribe notes. When prompted, click Allow to grant microphone access. If you missed the prompt, click the lock icon in your browser’s address bar to manually enable microphone access.
4
Step 4
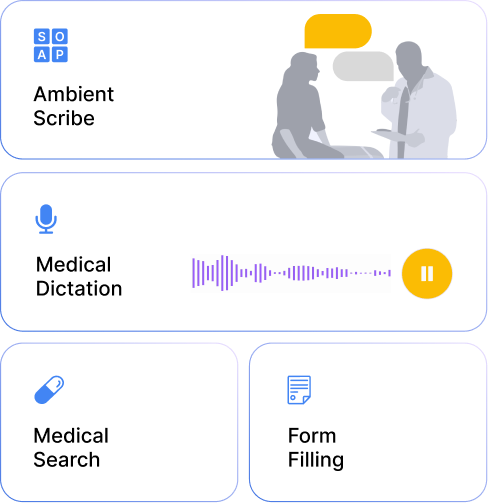
You're ready to start saving time with Tali. Use it to transcribe patient notes, generate summaries, and reduce documentation time. Providers using Tali are saving up to three hours a day.
It’s free to start, and you can unlock full access with a Pro subscription.
1
Step 1
To install the Tali Chrome extension, click the button below. When prompted, select Add extension. Tali will then be downloaded and installed automatically.
Download Tali Extension for Chrome2
Step 2
Once Tali is installed, a widget with a login button will appear in the right hand of your screen. If you don't see the widget simply refresh the page.
Click Log into Tali on the widget and you’ll be able to create an account with your email, Google or Apple account. If you already have a Tali account, proceeding with any of these will just log you into your account.
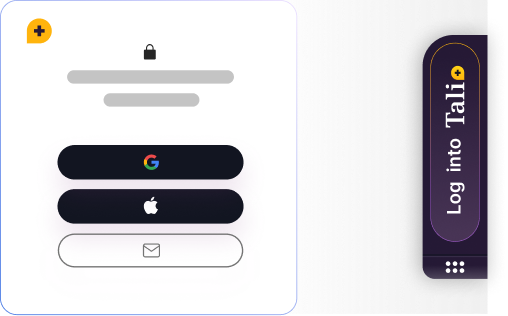
3
Step 3
Tali is a voice-enabled virtual assistant, so it requires microphone access to be able to work. The first time you try to use Tali on a new website, you will have to grant microphone access.
Select any text area within a webpage (like the patient's
E-chart on your EHR). Once the text area has been selected, the microphone icon in the widget will turn green. Click the green microphone and see a popup appear in the upper left corner of the browser. Click Allow to grant the extension permission to access your microphone.
You can change this permission by clicking on the lock icon located to the left of a webpage's url in Chrome's address bar.
4
Step 4
You're ready to start saving time with Tali. Use it to transcribe patient notes, generate summaries, and reduce documentation time. Providers using Tali are saving up to three hours a day.
It’s free to start, and you can unlock full access with a Pro subscription.
1
Step 1
Click the Download for Windows button below. The installer will download automatically to your computer.
Download Tali for Windows2
Step 2
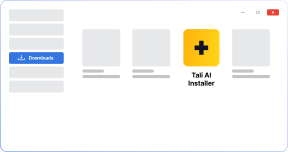
Locate the downloaded file on your computer and run the installation. The file is most likely located in your downloads folder. Simply follow on-screen instructions to proceed with the installation.
3
Step 3
Tali is a voice-enabled virtual assistant, so it requires microphone access to be able to work. The first time you try to use Tali, you will have to grant microphone access.
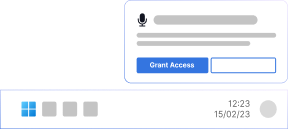
A notification pop up will appear on the bottom right of your screen, press the Grant Access button.
4
Step 4
Congrats! Start using saving time and effort by using Tali in your practice. With Tali, physicians are saving up to three hours a week on documentation, and their access to evidence-based medical information.
It is free to start, and you can get unlimited access with a premium subscription.
1
Step 1
Click the Download for Mac button below. The installer will download automatically to your computer.
Tali for Mac Intel2
Step 2
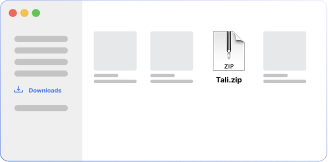
Locate the downloaded file on your computer. The file is most likely located in your downloads folder. Simply unzip the file and move the application to the applications folder.
3
Step 3
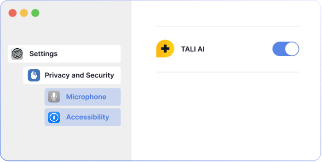
Through your System Settings > Privacy & Security, grant access to the Microphone and Accessibility features.
4
Step 4
Congrats! Start using saving time and effort by using Tali in your practice. With Tali, physicians are saving time on every patient visit.
It is free to start, and you can get unlimited access with a subscription.
1
Step 1
Use the QR code below to find the mobile app in your device’s app store.

2
Step 2
Log into your Tali account, using the same email address you used when creating the account on your computer.

3
Step 3
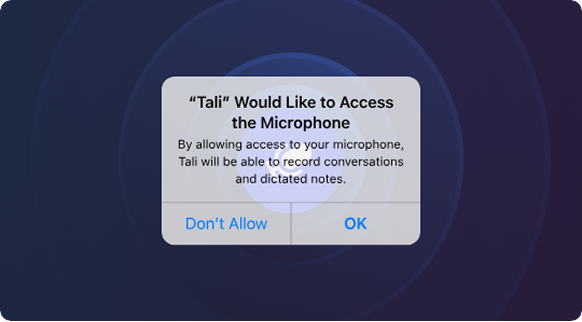
When prompted to do so, click ‘OK’ to allow Tali to use your device’s microphone.
4
Step 4
Use the mobile app to record a patient visit, clicking ‘Done’ when the visit is over.

5
Step 4
Paste the Note into Your EHR